Home Vision Blinds window solutions are high-quality and custom-made for your space, meaning blind installation should be easy. If you're ready to hang your chosen Venetians, roller blinds, or shutters, our simple guide on how to install blinds is here to help!
Find out more below or get in touch with the team today if you have any questions.

While the hardware, brackets, and screws should come with your Home Vision Blinds, there are some extra pieces of equipment you will need to get your window coverings sitting right in the frame.
You will need: A tape measure and pencil, screwdriver, and safety glasses.
You may need: A power drill and/or a step ladder.
Before you buy your blinds, you’ll need to decide whether you're installing the blinds within the window frame or outside the frame.
Installing blinds inside the frame achieves a neater look that’s ideal in a living space, while outside the frame is often better for the bedroom as it more effectively keeps out the light.
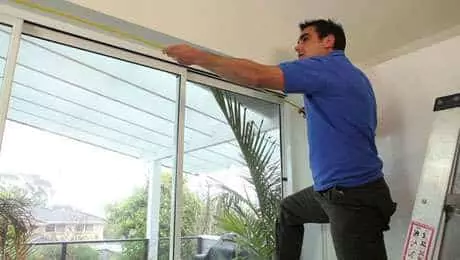
Measure the window before you order your blinds. Start with the smallest window and then work your way up to larger, higher, or unusually shaped windows. Decide if you’re hanging your blind inside the cavity of your window or over the top.
Pencil mark a point at each side of the frame where you’ll put each bracket. There may be a difference between the left and right brackets; check they fit with each end of the blind. Make sure each bracket is placed at the same height and depth relative to the window.
Hold the bracket in place and pre-drill the bracket holes. If your window frame is older or made of softer wood, you may be able to screw it directly in without drill holes.
Make sure this is done as accurate as possible. If the brackets are not the right distance apart, the blind won’t fit. Once you’re happy with your bracket placement, use your screwdriver to drive the screws in and make the bracket stable.
With your blind rolled up, slide the blind between the brackets. Start with the end without a chain and then slide the chain side in afterwards.
Check the blind has enough room to roll freely, and that it is sitting nice and straight. Give it a few test rolls to make sure it’s secure!
Step back and admire your new, fully installed blind.
Prefer to get one of our experts to install your motorised blinds Auckland-wide? Need any advice on choosing your blinds? Give us a call on 0800 BLINDS.